
Engaging your audience with images and graphics is a proven method to increase conversions. The process of uploading images to your site isn’t too complicated, but it can lead to unexpected results. Uploading images in the wrong format may cause them to appear stretched, skewed, or pixelated. Incorrectly presented images can look unprofessional and distract attention from your fantastic content.
Before uploading pictures to your website, you should have an organized photo library. You will want to use images that are large enough in size for most screens without having any pixelation.
Most importantly, if you upload large image files, your website will take longer to load. When web page response time is delayed by just one second, conversion rates can drop by 7%.
Here are a few tips to help you optimize the images:
- The first step before uploading pictures to your website is to clean up the picture. This means making sure that there are no distractions in the background or people coming into the frame of the picture.
- Make sure that your pictures are of high quality – this will ensure that they do not look pixelated or blurry when displayed on a screen.
- Resize and compress the pictures before uploading them to ensure that they do not slow down your page load time.
Cleaning up the Pictures
There are many ways that you can edit a photo before uploading it to your website:
- Taking out any distracting elements from the background
- Removing any unwanted people from the photo
- Cropping a photo so that it shows what you want
- Using filters on a photo to make it look more aesthetically pleasing
If you are unfamiliar with any of these tasks, you can hire a specialist or contact us for help.
Compressing the Pictures
Let’s talk about image file size. Probably the most important aspect of uploading the images to the website is their size. Generally, image files are large! Making them small will prevent them from slowing down your website.
You can expect a JPG file from your smartphone camera to be about 3-8 MBs. It’s way too large for your website. Images should be sized between 50 – 200 KBs – a 95% reduction from the original!
Compress pictures using the Adobe Photoshop
When you export your image from Adobe Photoshop, you can choose “save for web”. You can select the file size you would like to export using a slider.
When you’re in the save-for-web interface, you can adjust the slider in the top right corner to change the quality of your image. You will notice that as you change this slider, the file size in the bottom left corner will change along with it.
Additionally, make sure the image dimensions in the bottom right corner are appropriate for where you are uploading it. Make sure the chain link icon next to the numbers is clicked when changing the dimensions so the aspect ratio does not change.

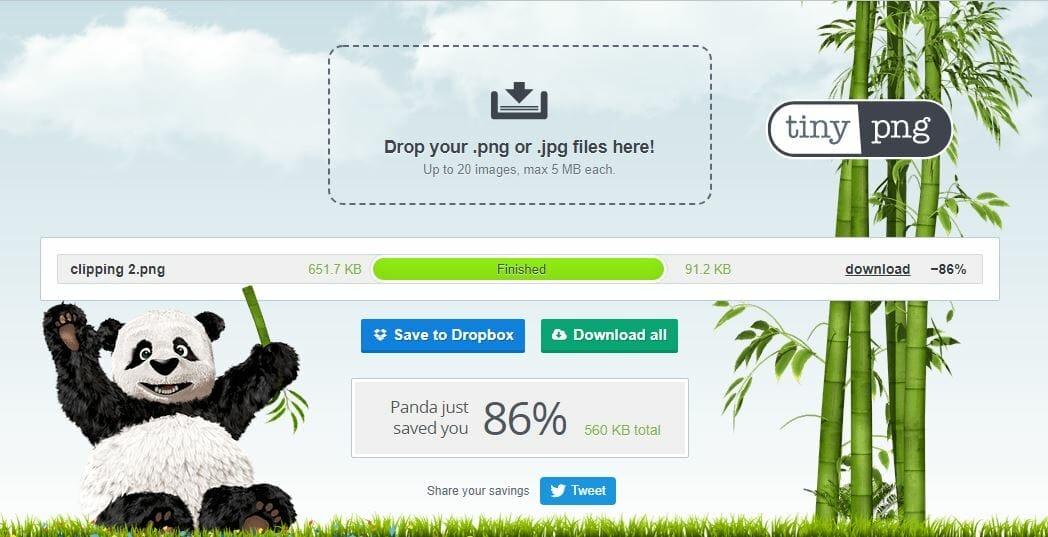
Compress pictures using TinyPNG
Don’t have access to Adobe Photoshop? Try one of the many cloud-based tools.
TinyPNG is the popular one.
Just drag and drop your desired image and let TinyPNG do its magic. You can see how we were able to achieve an 86% reduction in size, without compromising on the quality.